Here are some general Thai vegetables that are used in cooking.
"Thai Yam Bean / Jicama 20 seeds PACHYRHIZUS EROSUS"
Packet of @ 20 Thai Yam Bean Seeds
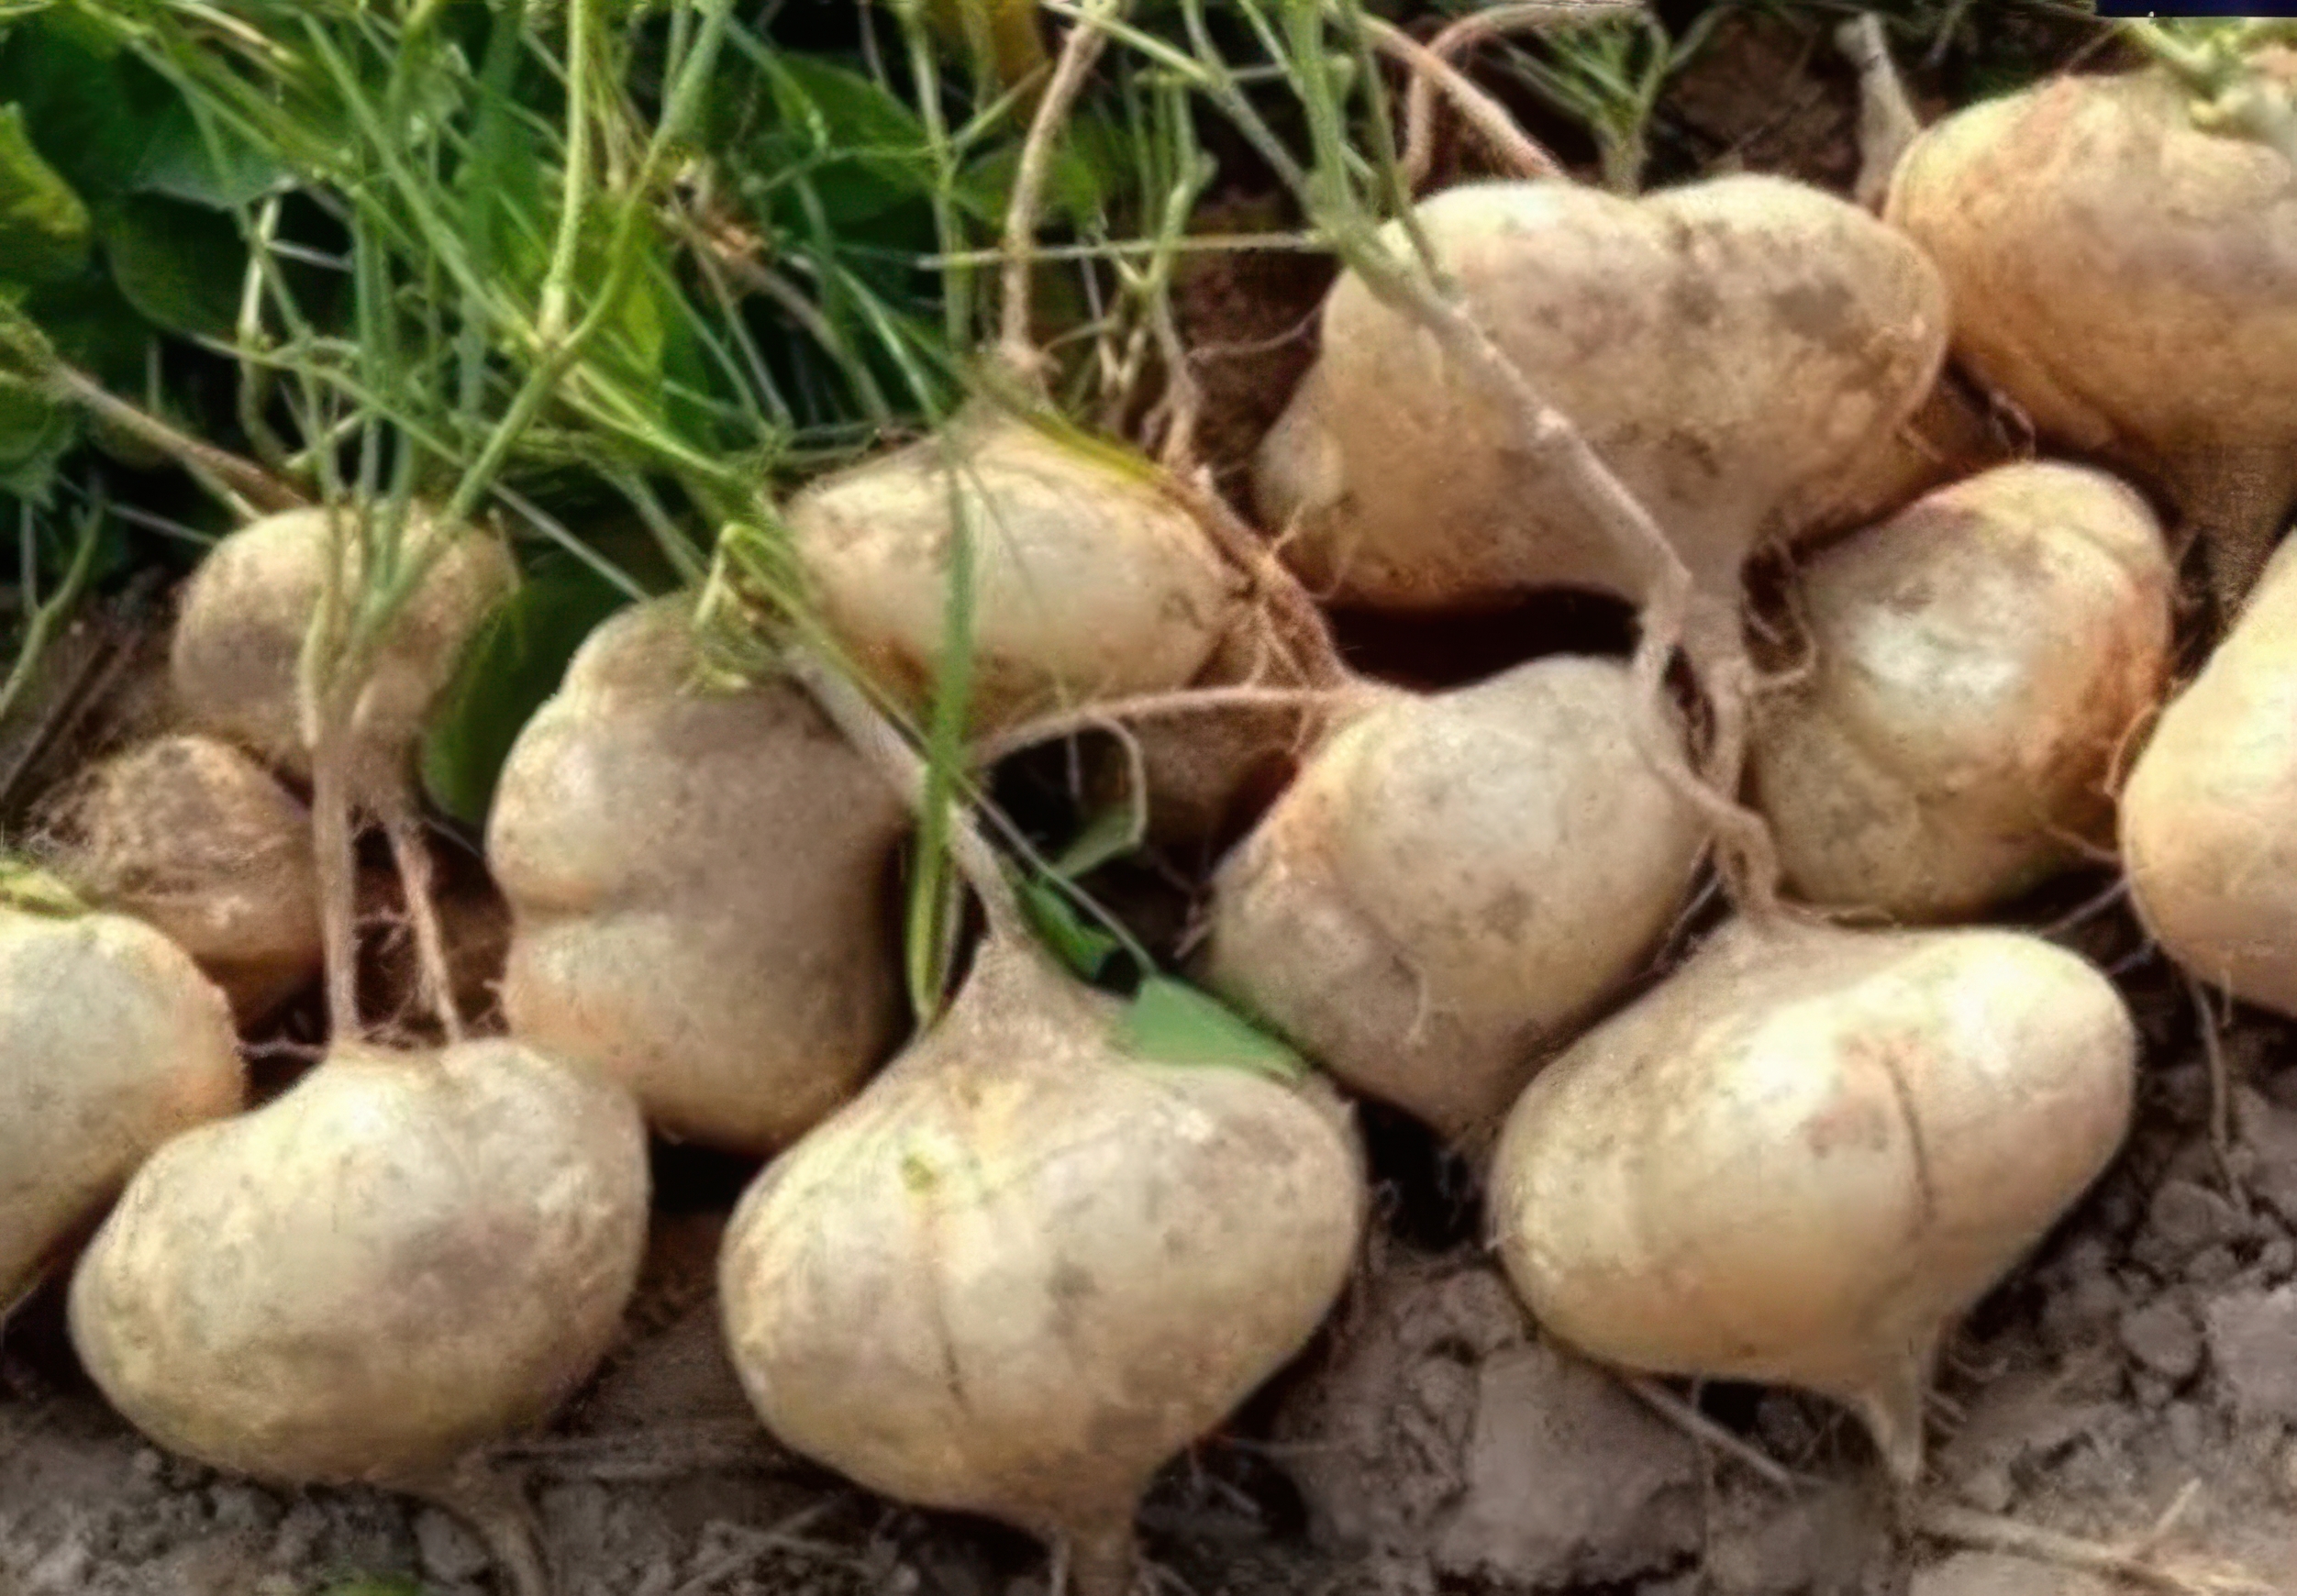
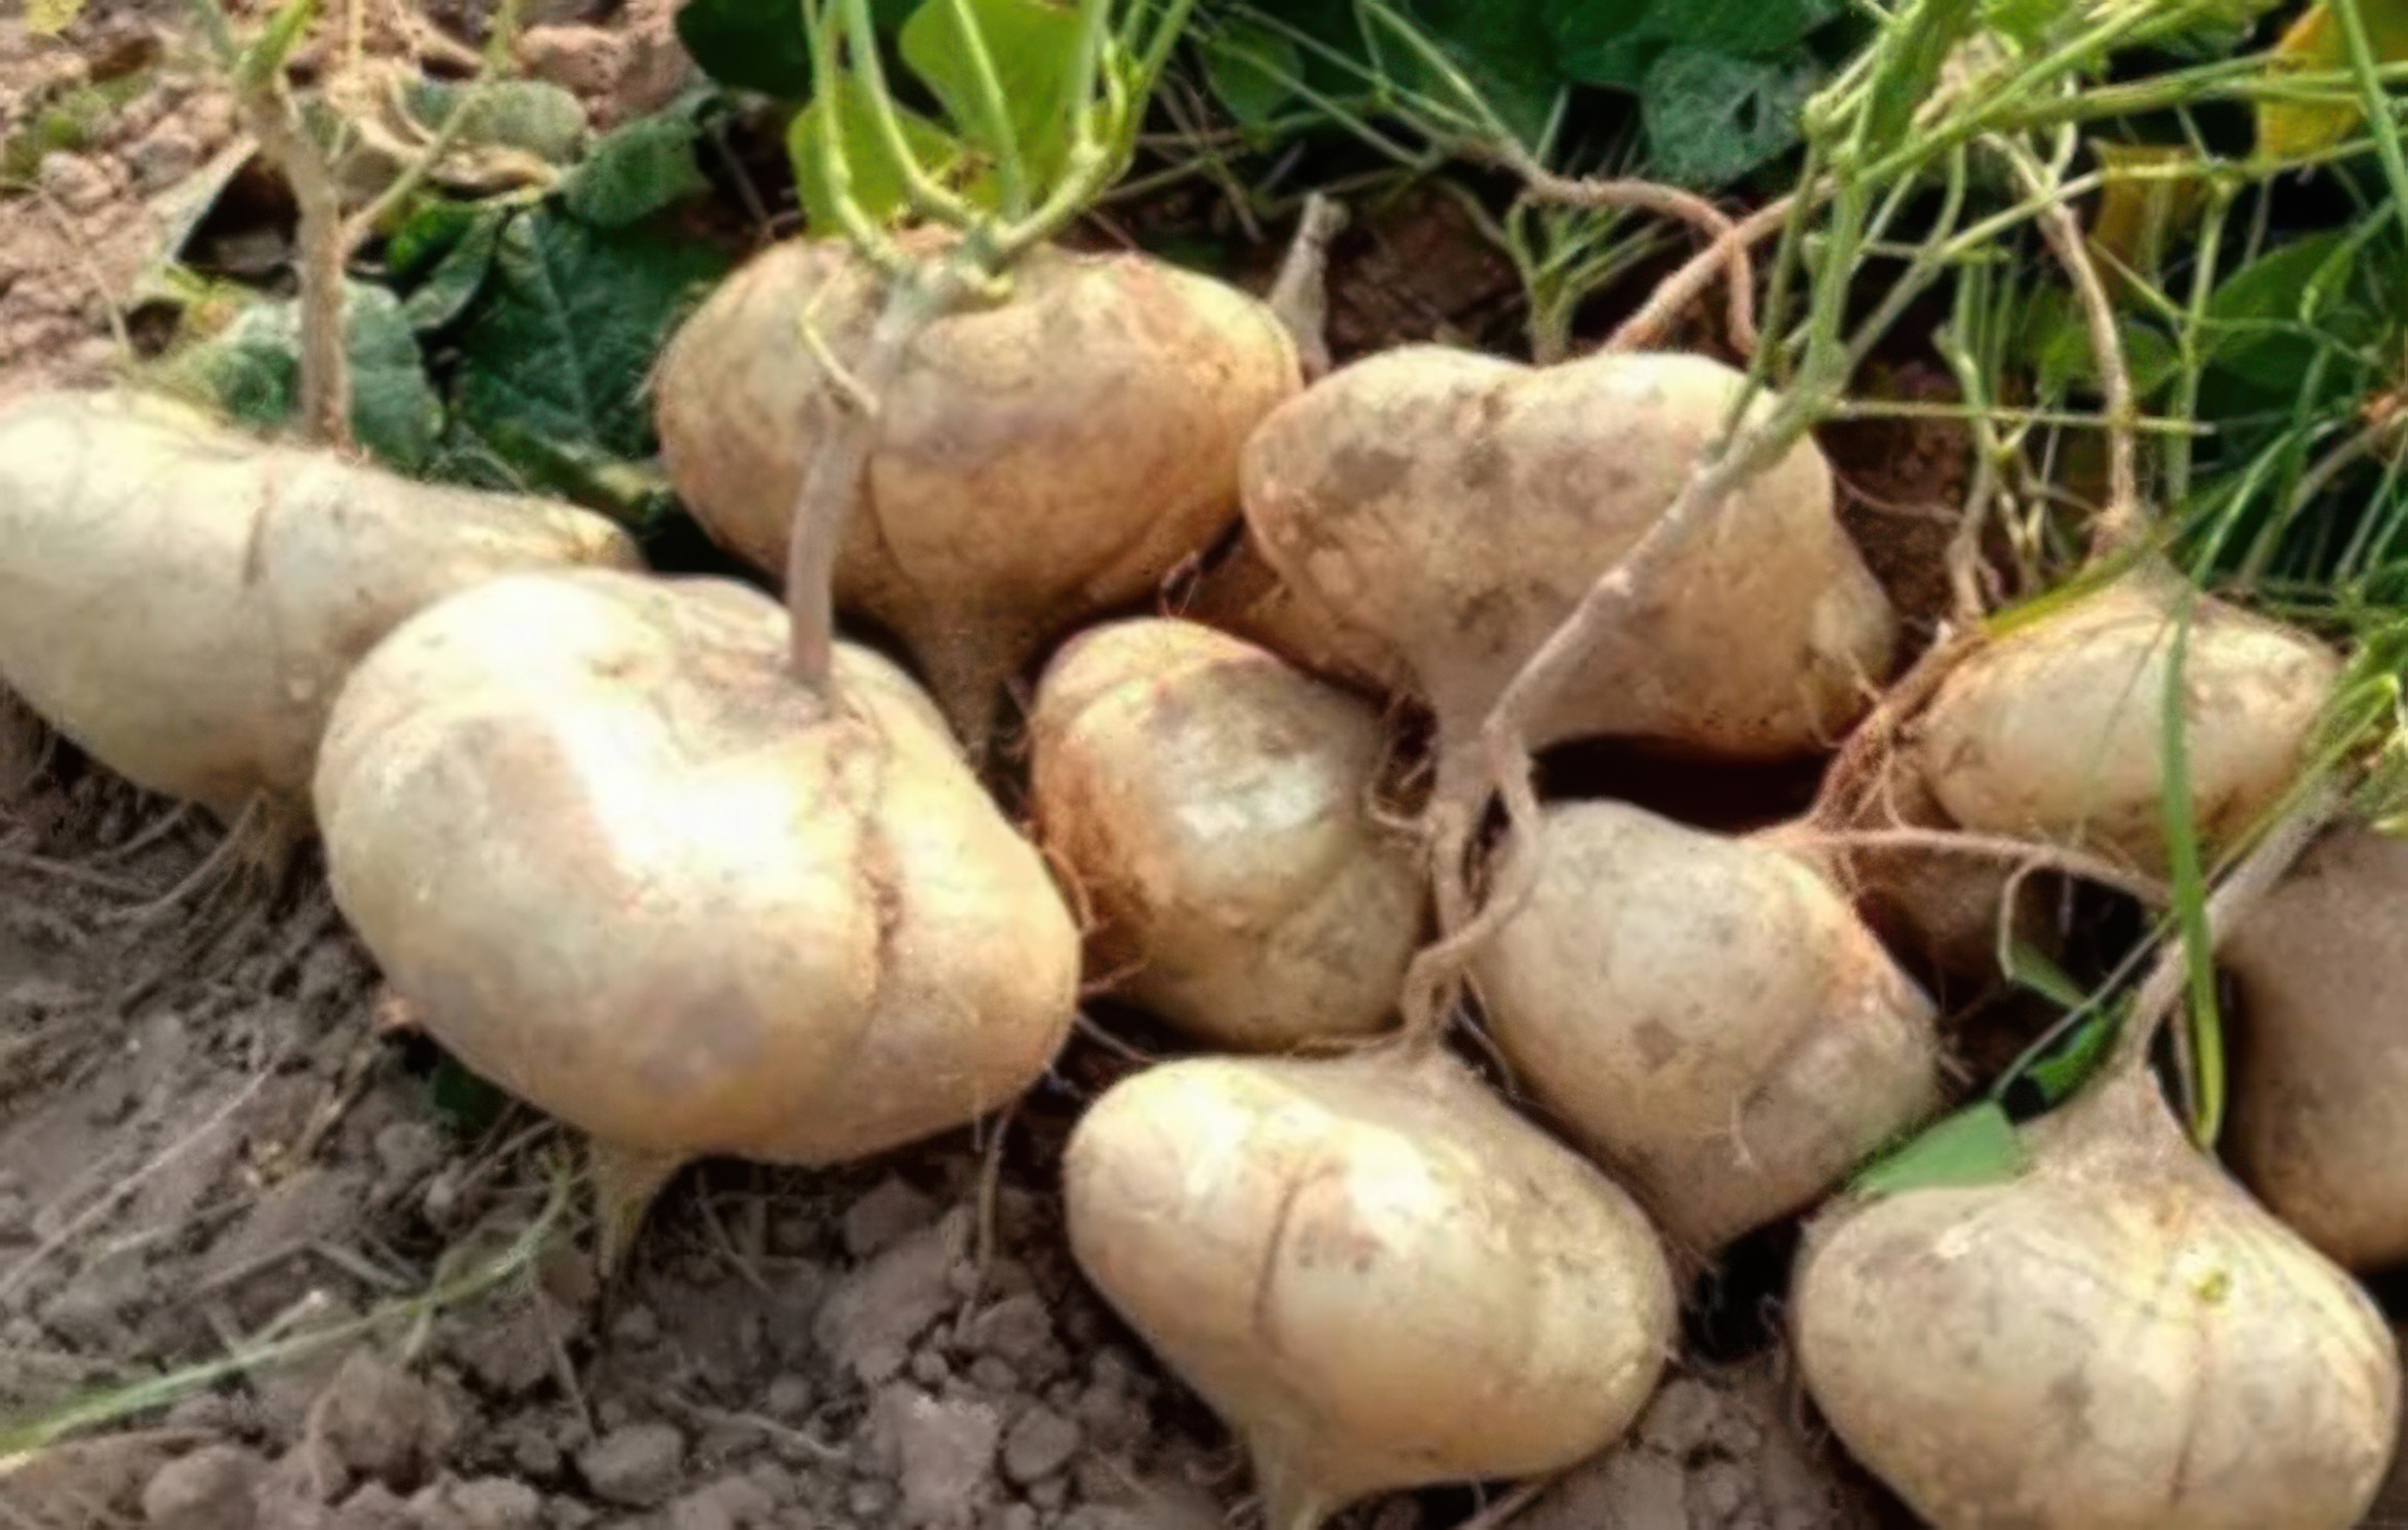
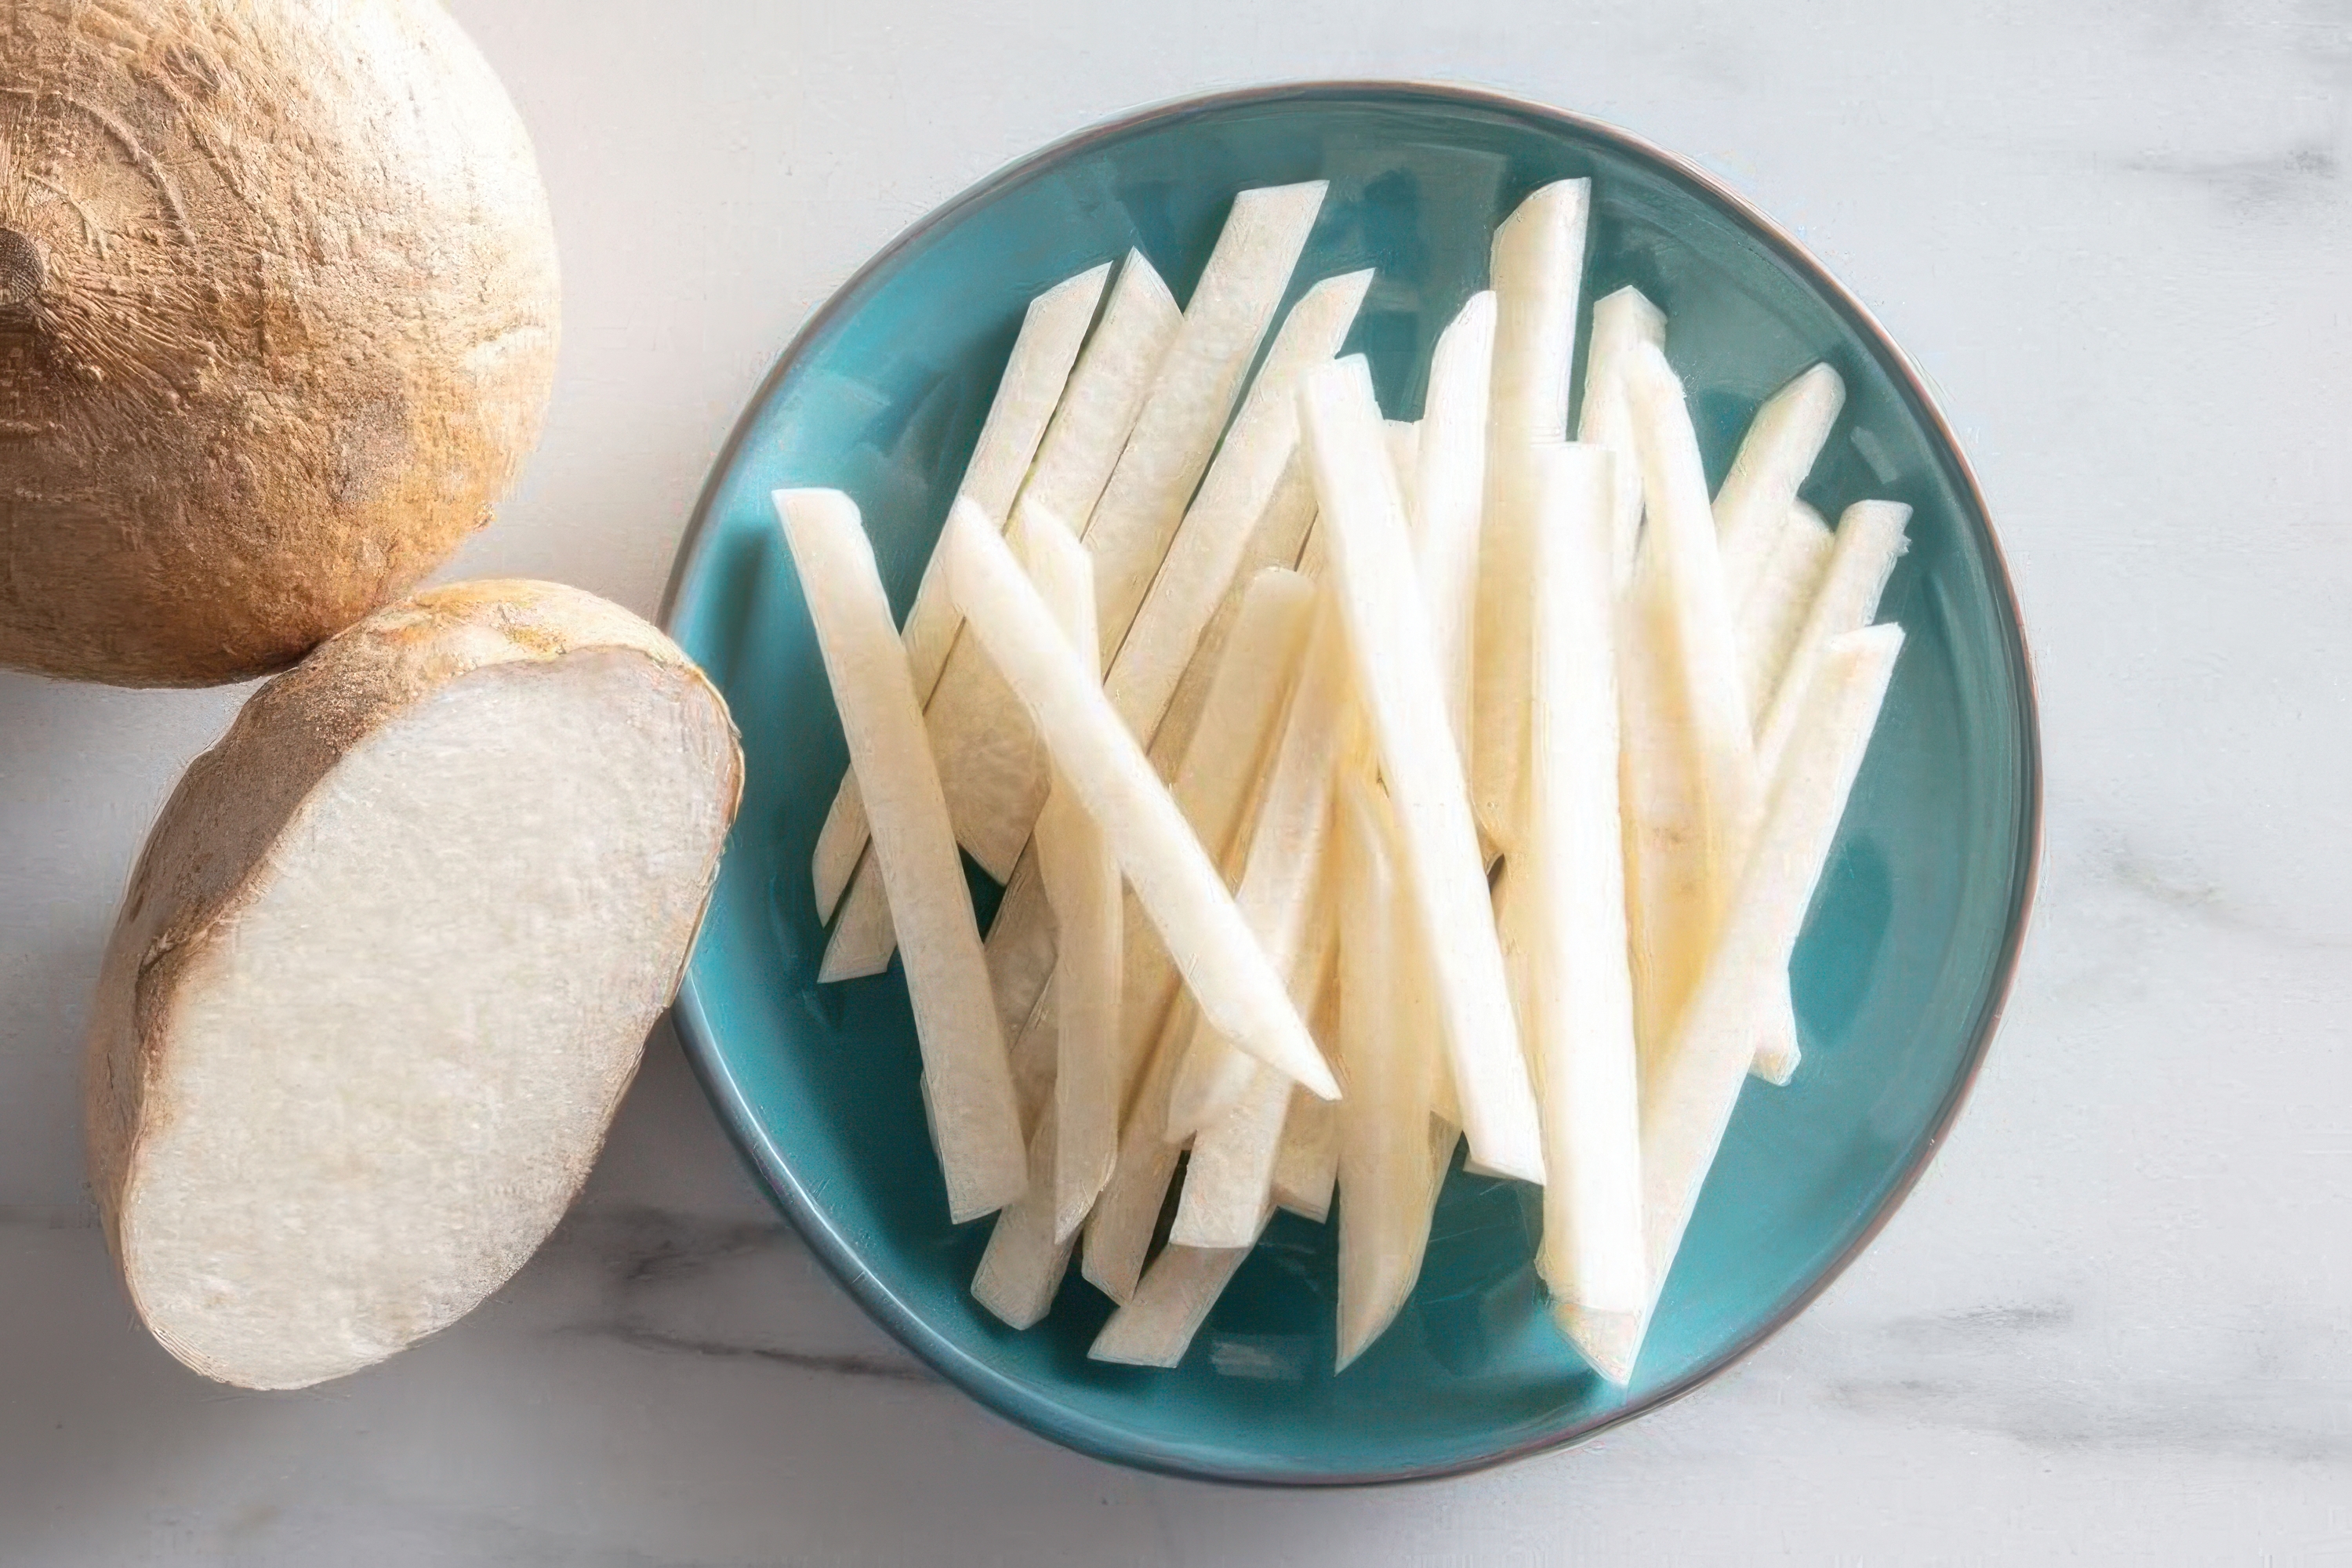
Fresh Yams True Yams have pale white flesh, and bark like skin. They are highly nutritious, providing a source of fibre, potassium and antioxidants.
Yam is a starchy tuber vegetable, native to Africa. It is often referred to as African Yam to differentiate the term ‘Yam’ from what Americans use to describe soft sweet potatoes.
It has has edible tuberous root that is spindle-shaped like turnip with a light brown skin and white flesh.
The Yam is a tropical vegetable which is very sensitive to cold, only grow it in warm environment.
True Yams have pale white flesh, and bark like skin. They are highly nutritious, providing a source of fibre, potassium and antioxidants.
Yam's generally have a glycemic index lower than other legume products, which means that they could provide a more sustained form of energy (Emiola, 2011) so suggesting it to be a good source of meal for diabetic patients.
$3.99
"Okra Ladies Finger"
Packet of Okra Ladies Finger Seed
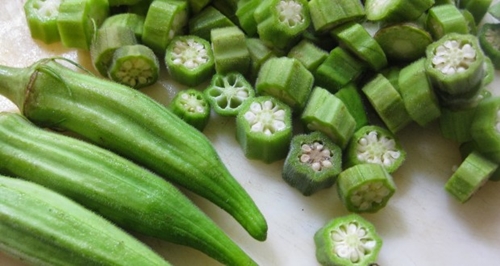
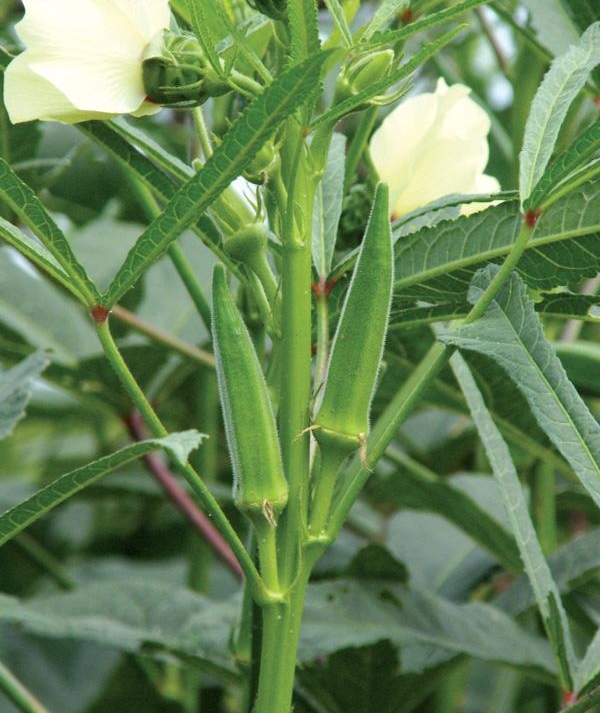
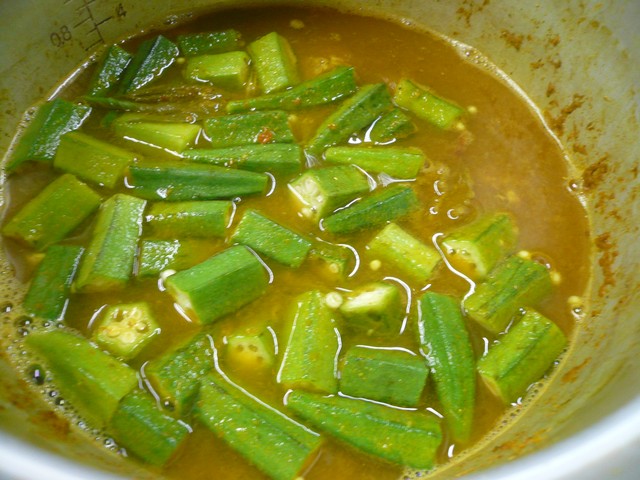
Okra is a tall growing warm season annual with ornamental value, native to Africa. They are known by different names.
This upright plant grows 3-6 feet or more in height. The woody stems bear leaves that are lobed and are generally hairy, some reaching up to 12 inches in length. The flowers are large around 2inches in diameter, yellowish hibiscus like, with red or purple centers which will last only for a day. Each blossom develops a small green pod. The fruits are green to dark green, sometimes yellow to red; long, conical and ridged. Okra contains moderate levels of vitamin A and vitamin C.
Propagation and Planting : Propagation is through seeds. Soak seeds overnight in warm water before sowing to improve germination. Seeds can be sown 1 inch deep in pots or seed trays or directly on the ground 12 to 18 inches apart or three to four seeds per foot, in single rows. Seedlings are ready for transplanting when they reach a height of 10-15cm. Rows should be kept 3 to 5 feet apart. Plants branch out only when they reach a height of 30-40cm.
Okras grow well in warm weather. They should be planted in full sun. The soil for growing okras should be fertile, well drained, high in organic matter with a pH ranging from 6.0 to 6.5. Soil should be well prepared several weeks before planting by adding well rotted manure, compost or any other organic matter and a balanced fertilizer. Lime or dolomite can be added to get the required ph level of the soil.
The soil should be kept moist by regular watering. Water the soil not the plant directly. But the plant does not tolerate excessive moisture. Regular watering and light fertilization occasionally gives better yield. Always water after fertilizing. Okra will start yielding about 60 days after planting. Fruits should be picked when they are 3-4 inches long and still tender. They become tough and stringy as they mature.
Problems and Care : Keep the area around the okra plants weed free. Remove weeds and grass close to the plant carefully by hand without damaging the roots. Plants are susceptible to stem rot, so when you must water, soak the soil, not the plant. Yields will increase if plants are watered deeply. To reduce the potential for fruit rot problems, be sure that plants have good air circulation.
$2.55
"Baby Sweet Candle Corn"
Packet of Baby Sweet Candle Corn
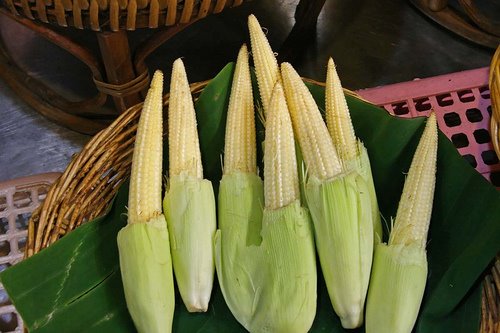
Baby corn or candle corn
Corn generally matures very quickly, so the harvest of baby corn must be timed carefully to avoid ending up with more mature corn ears.
Baby corn typically is eaten whole—cob included—in contrast to mature corn, whose cob is considered too tough for human consumption. Baby corn is eaten both raw and cooked, however cooking does not change its culinary and physical properties significantly; the texture remains relatively the same, as does the taste, whether raw or cooked.
Harvest: Approximately 40 -55 days.
Instructions
You need:
* Gardening flats, 2 feet deep
* Gardening soil
* Compost
* Corn seeds
* Blood meal
1 Fill the garden flats with a half-gardening soil, half-compost mixture and combine thoroughly.
2 Sow the corn seeds 3 to 4 inches apart and 1 inch deep. Sow one row per gardening flat to ensure adequate root space.
3 Apply blood meal to the soil when the plants are knee-high to give them an extra growing boost.
4 Hill the soil around the corn's base when the plants are 6 inches high to offer the plants optimal support.
5 Harvest the ears before pollination on the day that the silk first appears on the husks.
$2.25
"Mini Cucumber"
Packet of Thai Mini or Baby Cucumber Seeds
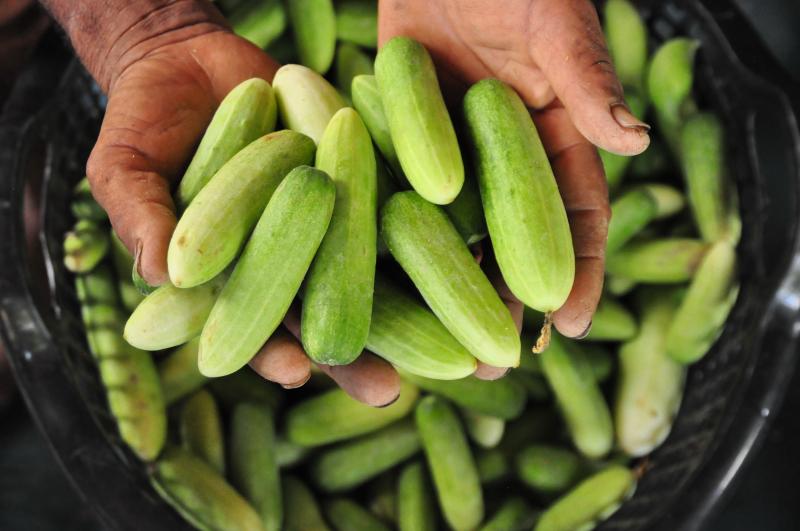
Packet of Thai Mini or Baby Cucumber Seeds, Dtaang Gwaa
Best Way to Grow Cucumbers
When planting cucumbers from seeds, sow seeds in a prepared garden site in groups of three or four or spaced individually down rows.
* Space needed between rows is 36-60 inches.
* Spacing between plants is one to two feet.
* Planting depth should be one to two inches.* From seeds to harvest is 50-70 days.
* For cucumber seed germination ,keep seeds moist until germination in an average 5-7 days.
$2.25
"Loofah, Ridged Luffa"
20 Seeds Ridged Luffa, loofah, sponge, chinese okra
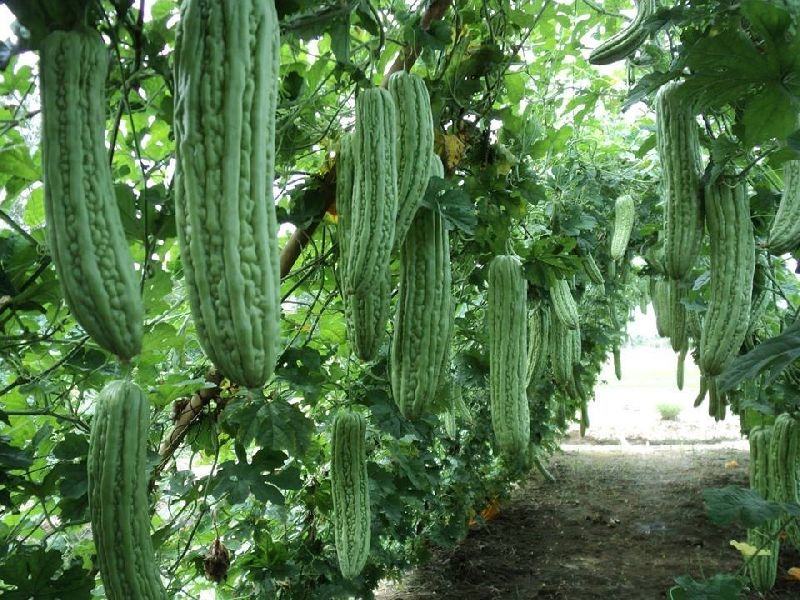
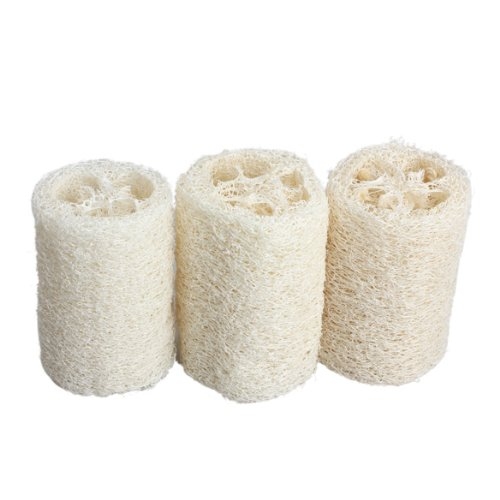
Luffa is a fast-growing, long-season, warm-climate vine plant that can climb up to 15 feet high. The fruit is edible only when immature and is cooked like zucchini. The fruit setting may be relatively sensitive to the day length. The matured fruit forms sponge-like fibers inside. After the fruit matured, dried, skin and seeds removed/cleaned, fibers are often used as scrubbers, cleaning pads or bath sponges. Thus, this vegetable is also called Dish Cloth Luffa ( Loofah).
Angled Luffa fruits are also often called Chinese Okra, but not related to Okra at all. Luffa seeds, particularly Ridged Skin varieties, have hard skin and may take a long time to germinate. They need warm/moist soil conditions for germinating. For improving the seeed germination, it is suggested to break slightly the seed at the non-seed-eye area/edge by clipping or sanding. This treatment will allow water entering the seed inside core to trigger the germination process.
NOTE: Luffa needs insects to carry out the pollinating process for setting fruits. If the insects or bees are not available in your area, the pollinating process can be done manually, by picking up male flowers and transferring pollens to femal flowers (by face-to-face touching the center part of flowers). This process should be carried out when flowering is active during the daytime. If the pollination is sucess, the fat portion of the femal flower will grow into full size fruit.
$2.75
"Galangal - VERY RARE IN SEED FORM"
15 Galangal Seeds
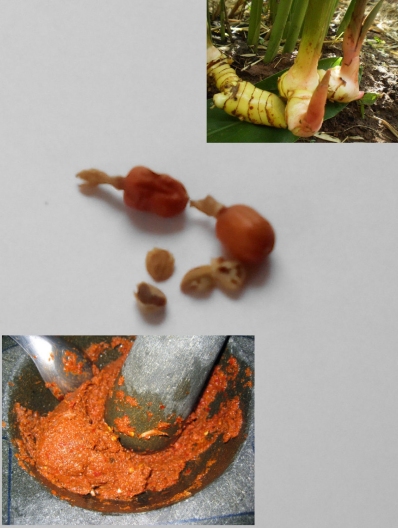
Just imagine how convenient it would be to have your own source of Fresh Galangal for your Thai curry pastes.
Grow your own! Its easy. Galangal (pronounced guh-lang-guh) is often found in Thai, Indonesian, and Malaysian cooking and also herbal medicine.
It is a very aromatic plant. Galangal has a distinct peppery flavour. It is often called Blue ginger but tastes completely different from ginger. Do not substitute one for the other in cooking. Normally just the root (the rhizome) is found and sold.
You will get @ 15 seeds .
I strongly recommend using fresh galangal as it tastes bests and it is difficult to achieve the same flavour with its alternatives.
Very rarely found in seed form.
Growing Instructions
*****************
Stage 1: Combine together equal parts of peat moss, loam and sand in a bucket. Split the growing media into individual three or four-inch plastic pots until filled.
Stage 2: Pack down the growing media until it's firm and well compressed in each of the three or four-inch pots. Place the pots into a watering tray, or any other container that can hold about one inch of water.
Stage 3: Pour water into the tray so the three or four-inch pots will absorb enough water to become well saturated. Drain out any remaining water after the pots have been moistened.
Stage 4: Poke one-half inch deep holes in the centre of each three or four-inch plastic pot.
Plant each of these galangal seeds in a pot on its own, plant these just under the surface and cover with about one half inch of the growing media over the top of each of the holes.
Cover the pots with cling film forming a mini greenhouse environment.
Stage 5: Transfer the tray of pots into a warm, bright location. The location should have a consistent temperature of between 21 and 24 deg. Celsius at all times. Ideally, eight to 10 hours of light daily also should be available. Germination of the seeds can begin in as little as 7 days, but can take up to 4 weeks. Pot up the seedlings into larger containers when they're about 2 to 3 inches tall. Give fertilizer once every 2 months to encourage plant growth
When a few months old move to a full sun location,but ensure the soil does not dry out.
Established plants need little care and maintenance as they are hardy and not susceptible to pest attacks. Water to keep the soil moist and fertilize once a month. Prune off dried leaf stalks.
The flowers are yellowish white in colour. The fruit is small, about 1.25cm diameter and berry-like or pear-shaped. It turns from green to yellow to blood red when mature.
$7.85
"Bamboo Leaf, Pak Boon, Water Spinach Seeds"
Packet of Bamboo Leaf, Water Spinach Seed Seeds
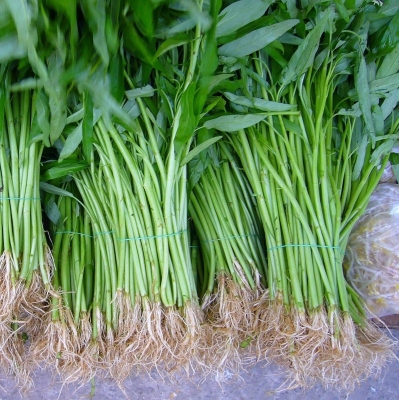
A new and different variety of Water Spinach with small light green arrow shaped leaves on long hollow stalks. Very vigorous, tolerant to heat, and requiring less water for growth.
Sowing: Soak the water spinach seeds for 24 hours before planting.
Choose a nutrient-rich soil with a pH of 5.5 to 7.0 for optimal growth, and mix in organic fertilizer, compost, or manure to add extra nutrients to the soil. Water the soil until it is saturated.
Dig holes 4 inches deep and 5 to 12 inches apart for each seed,planting them in rows if desired. Keep the soil well watered at all times to help the seeds germinate.
Caring for: The plant needs little attention, add a feed of nitrogen rich fertilizer spray every two weeks.
Harvest: Every month or two, pick before the plant flowers. This ensure the nicest and tastiest leaves, great for stir fry or a salad.
Thai Stir Fried Morning Glory (Pad Pak Boon). This is a very common Thai dish – you see it is frequently eaten as one of many dishes in a larger Thai style meal or used in many types of Thai Noodle soups. or great for delicious salads also on its own The plant is upright and leaves are bamboo leaf shape, tender texture and have few fibres, delicious taste and fast growth, it can be harvested about 25 days after sowing in summer at South areas.
$2.55
"Thai Snake Pumpkin, 10 seeds"
Thai Snake Pumpkin, 10 seeds,
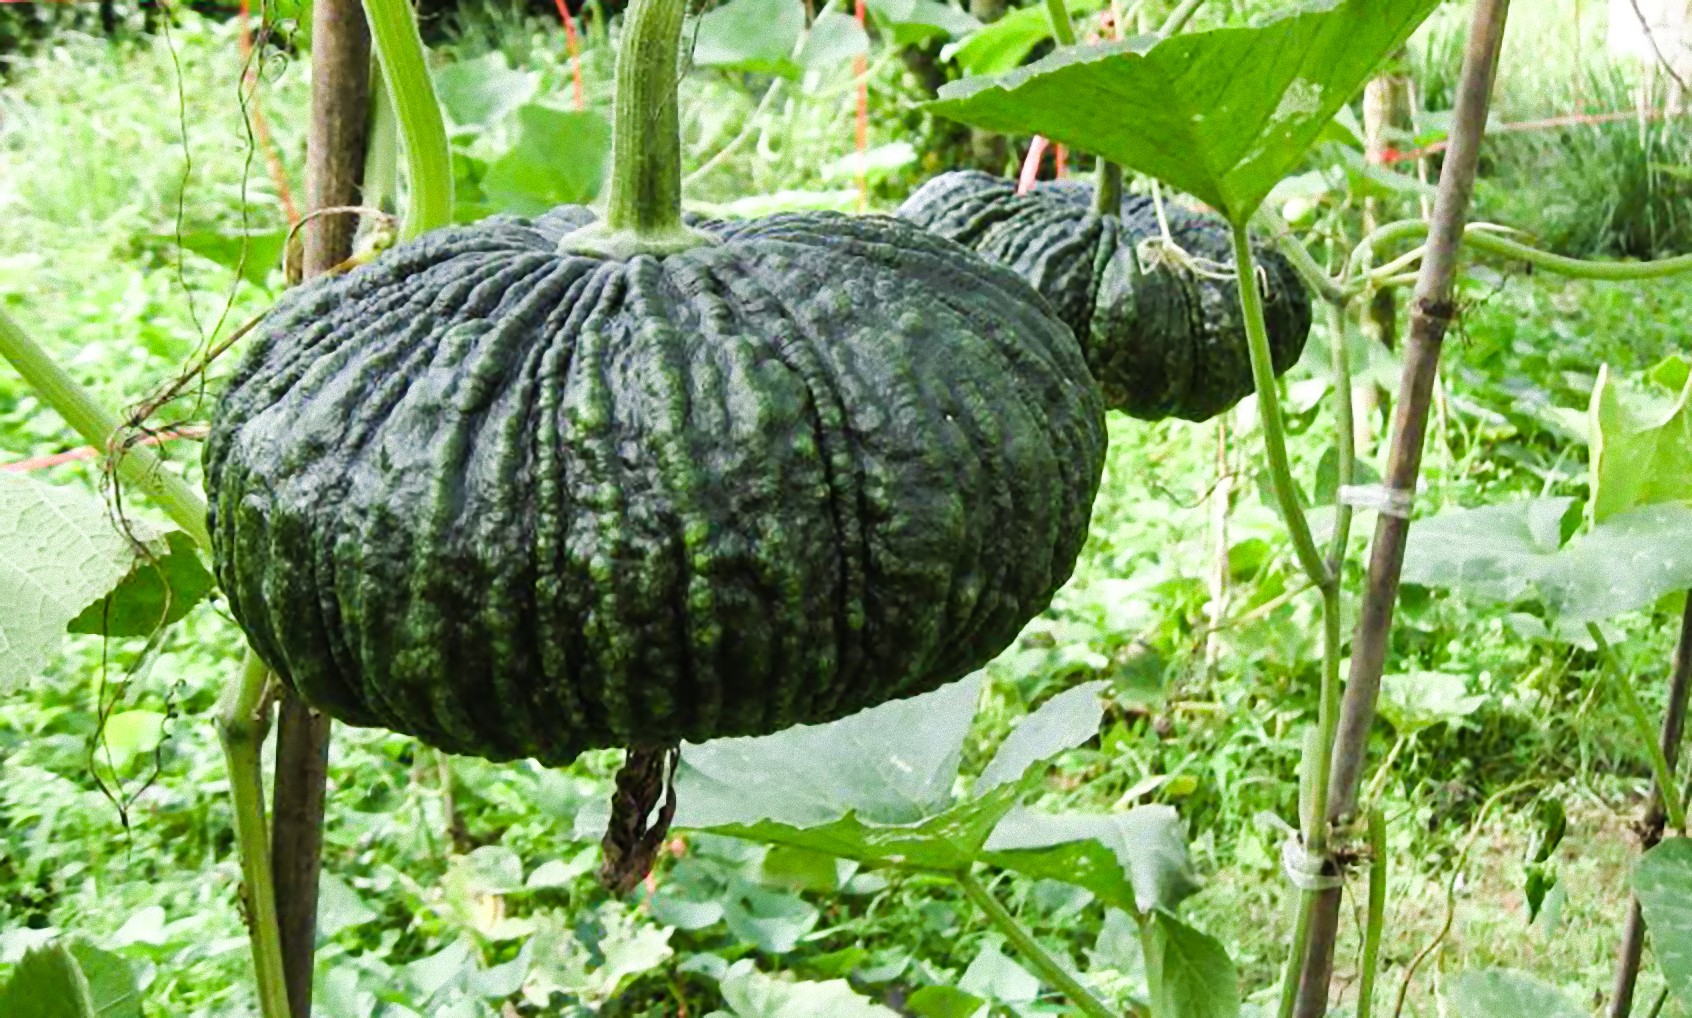
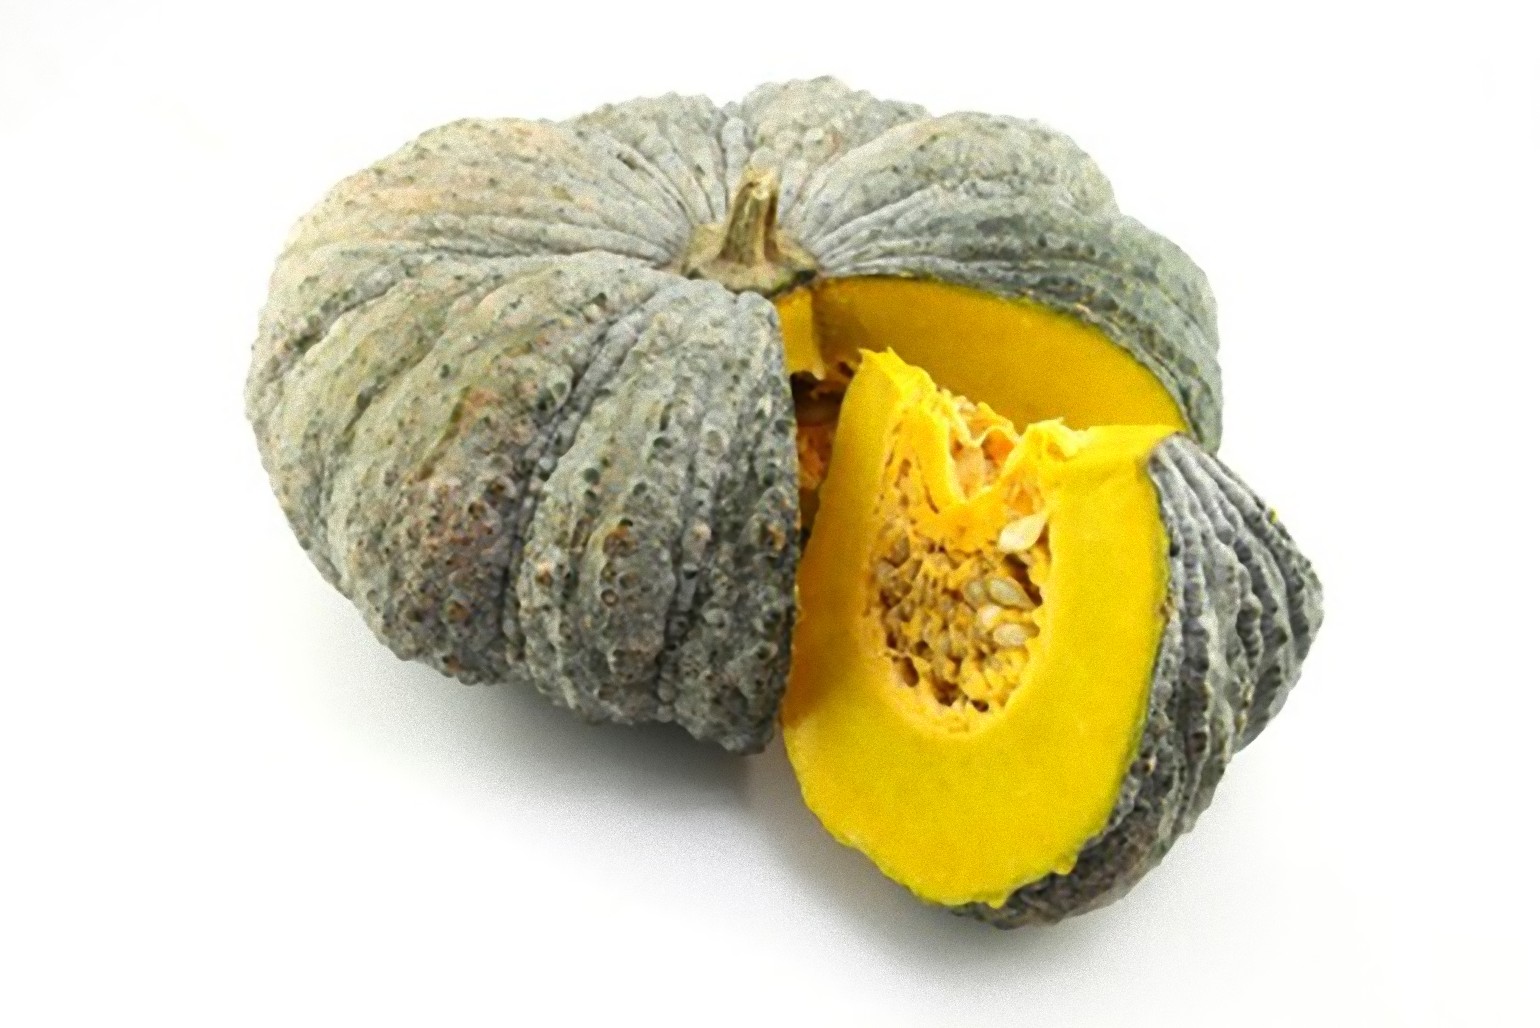
Thai Snake Pumpkin, called fuk torng in Thai, A sweet vegetable, non-GMO. Mature height of normally 3 - 6 feet
These adaptable, easy grown vegetables are used in many ways in Thai cooking. They can be used as a main ingredient in many dishes like ina curry, soups, salads and are even served with coconut milk as a desert.
Growing Instructions
*****************
Step 1 - Sow the pumpkins seeds on their sides in small 7.5cm (3") pots of seed compost at a depth of about 2.5cm (1").
Step 2 - Place them in a propagator or Cover the pots with cling film, creating a mini greenhouse, at a temperature of about 20°C (68F) until germination, which takes about 5-7 days.
Step 3 - When germinated, grow pumpkin plants on for about 4 weeks until they are large enough to be transplanted outdoors.
Step 4 - Gradually acclimatise them to outdoor conditions over 7-10 days before transplanting pumpkins into warm, well drained, humus rich soil in full sun, with shelter from winds. Choose a spot that receives at least 6 hours of direct sun per day and prepare the soil in advance, adding plenty of well rotted manure or compost.
Step 5 - Planting distances can range from 90cm apart to 3m apart depending on the variety, so you will need to check the seed packet. At each planting station, pile the soil into mounds about 15cm (6") high. Plant each pumpkin plant on top of a mound to ensure good drainage and keep them well watered until they are established.
Step 6 - Pumpkins like plenty of nitrogen so they will like a feed of general fertilizer a few weeks after planting. They will begin to produce long stems which can be trained in a circle around the plant to prevent them from spreading too far. They have deep roots and are normally quite capable of finding their own water within the soil, but in very dry periods some supplementary watering may be required.
$2.45
"Thai Yellow Zucchini or Yellow Courgette vegetable seeds"
Thai Yellow Zucchini or Yellow Courgette vegetable seeds, 2g or @ 12 seeds
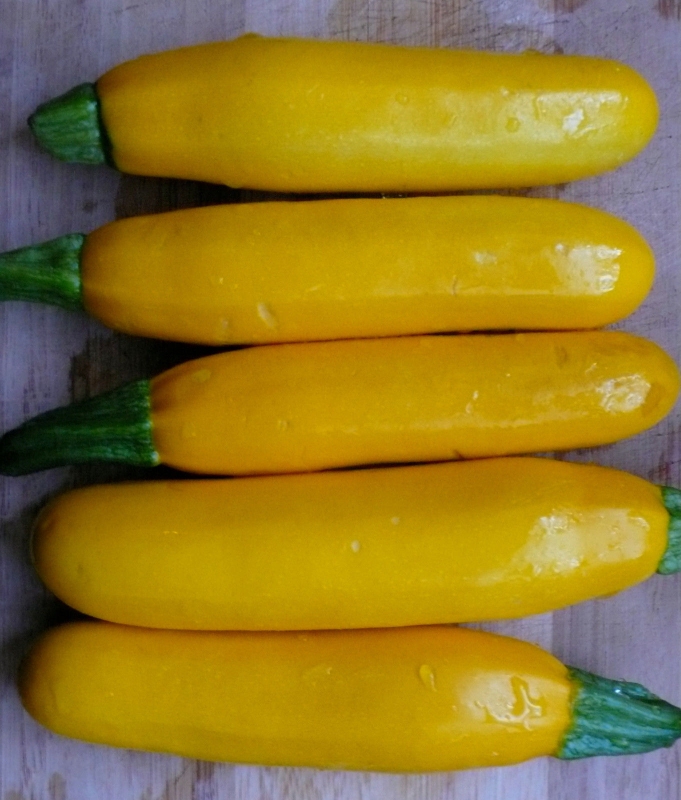
Thai Yellow Zucchini or Yellow Courgette falls in the category of a marrow squash.
These are typically cylindrical and are the same size from end to end. Zucchini can also be deep green to almost black, light green with stripes, mottled or deep yellow.
Yellow zucchini, sometimes called golden zucchini, does not taper at the ends like yellow squash. It's flavour is a bit sweeter than traditional green zucchini. Try mixing yellow and green in your stir-fry to add visual appeal.
It is a very flexible vegetable that can be used either raw or cooked. You can even use zucchini in baked goods, like bread or muffins. They are very high in vitamins A and C, manganese and fibre.
Zucchini plants can be started from seed either indoors, or directly in the garden. You should start your zucchini seedlings indoors about 2 weeks before your last frost date. Zucchini grow very long roots, so start your seeds in small pots that are several inches deep and be very careful not to break the roots when you transplant. The seeds should be planted about 1 inch below the surface of your potting soil.
Because you can get 15 or more fruits per vine, do not plant too many.
Alternatively, you can sow the seeds directly outdoors after the threat of frost is past and the soil has warmed up. See the transplanting section for more on planting right into the garden.
Transplanting: You should plant your zucchini in the sunniest part of the garden, and they love the heat. If you are planting your seeds directly into the garden, plant the seeds about 1 inch deep, with about 6 seeds to a small hill. If they all sprout, thin down to about 3 plants per hill. With seedlings, you have to prepare your garden area by digging the soil thoroughly so that it is loose. To protect the roots, you should loosen the soil at least 6 inches deep. If you are using larger seedlings, you may want to dig deeper. Mix in compost or aged manure, for these heavy-feeding plants.
Zucchinis have long tap roots, so you need to be careful when you transplant that you don’t break the roots. Dig a hole deep enough that you can set in the seedling without having to fold up the longer roots. If you are planting more than one hill of zucchini, you should allow plenty of space between them. Bush plants need at least 3 feet on all sides because they will get quite large. Vining zucchini that are being grown upward on a trellis can be about a foot and a half apart.
Growing Instructions: Water your zucchini frequently and don’t let them completely dry out, especially once they start to set fruit. Give them a good soaking about once a week. Take care while watering to keep the water off the leaves as much as you can to reduce any problems with fungus or mildew. Once the plants have grown to a decent size, their broad leaves will help keep the area weed-free by shading out invading plants. To keep your vines thriving, give them a good doze of fertilizer each month of the summer. You can control the amount of fruit you get from each vine by picking the extra blossoms off once a few zucchini have begun to form. If left to themselves, a zucchini vine will keep on producing all through the summer until the weather gets too cold. The blossoms don’t have to go to waste either. Add them to a summer salad for some colour. They’re edible and tasty.
$2.25
Frangipani Flowers
Adenium Flowers
Fruits
Other Flowers
Vegetables
Herbs
- Fresh and viable seed
- Latest seasons crop
- Direct to your door
- Great Value
- Unusual Varieties
- Pure, Natural, Non-GMO
- Global Delivery
- Secure Checkout


